I have started looking at painting and adding hair to my 3d-printed character heads. I watched a very useful tutorial (link) in which an artist uses "adhesion promoter" as an undercoat. This seems to remove some of the print lines, reducing (somewhat) the need to sand or acetone bathe the models.
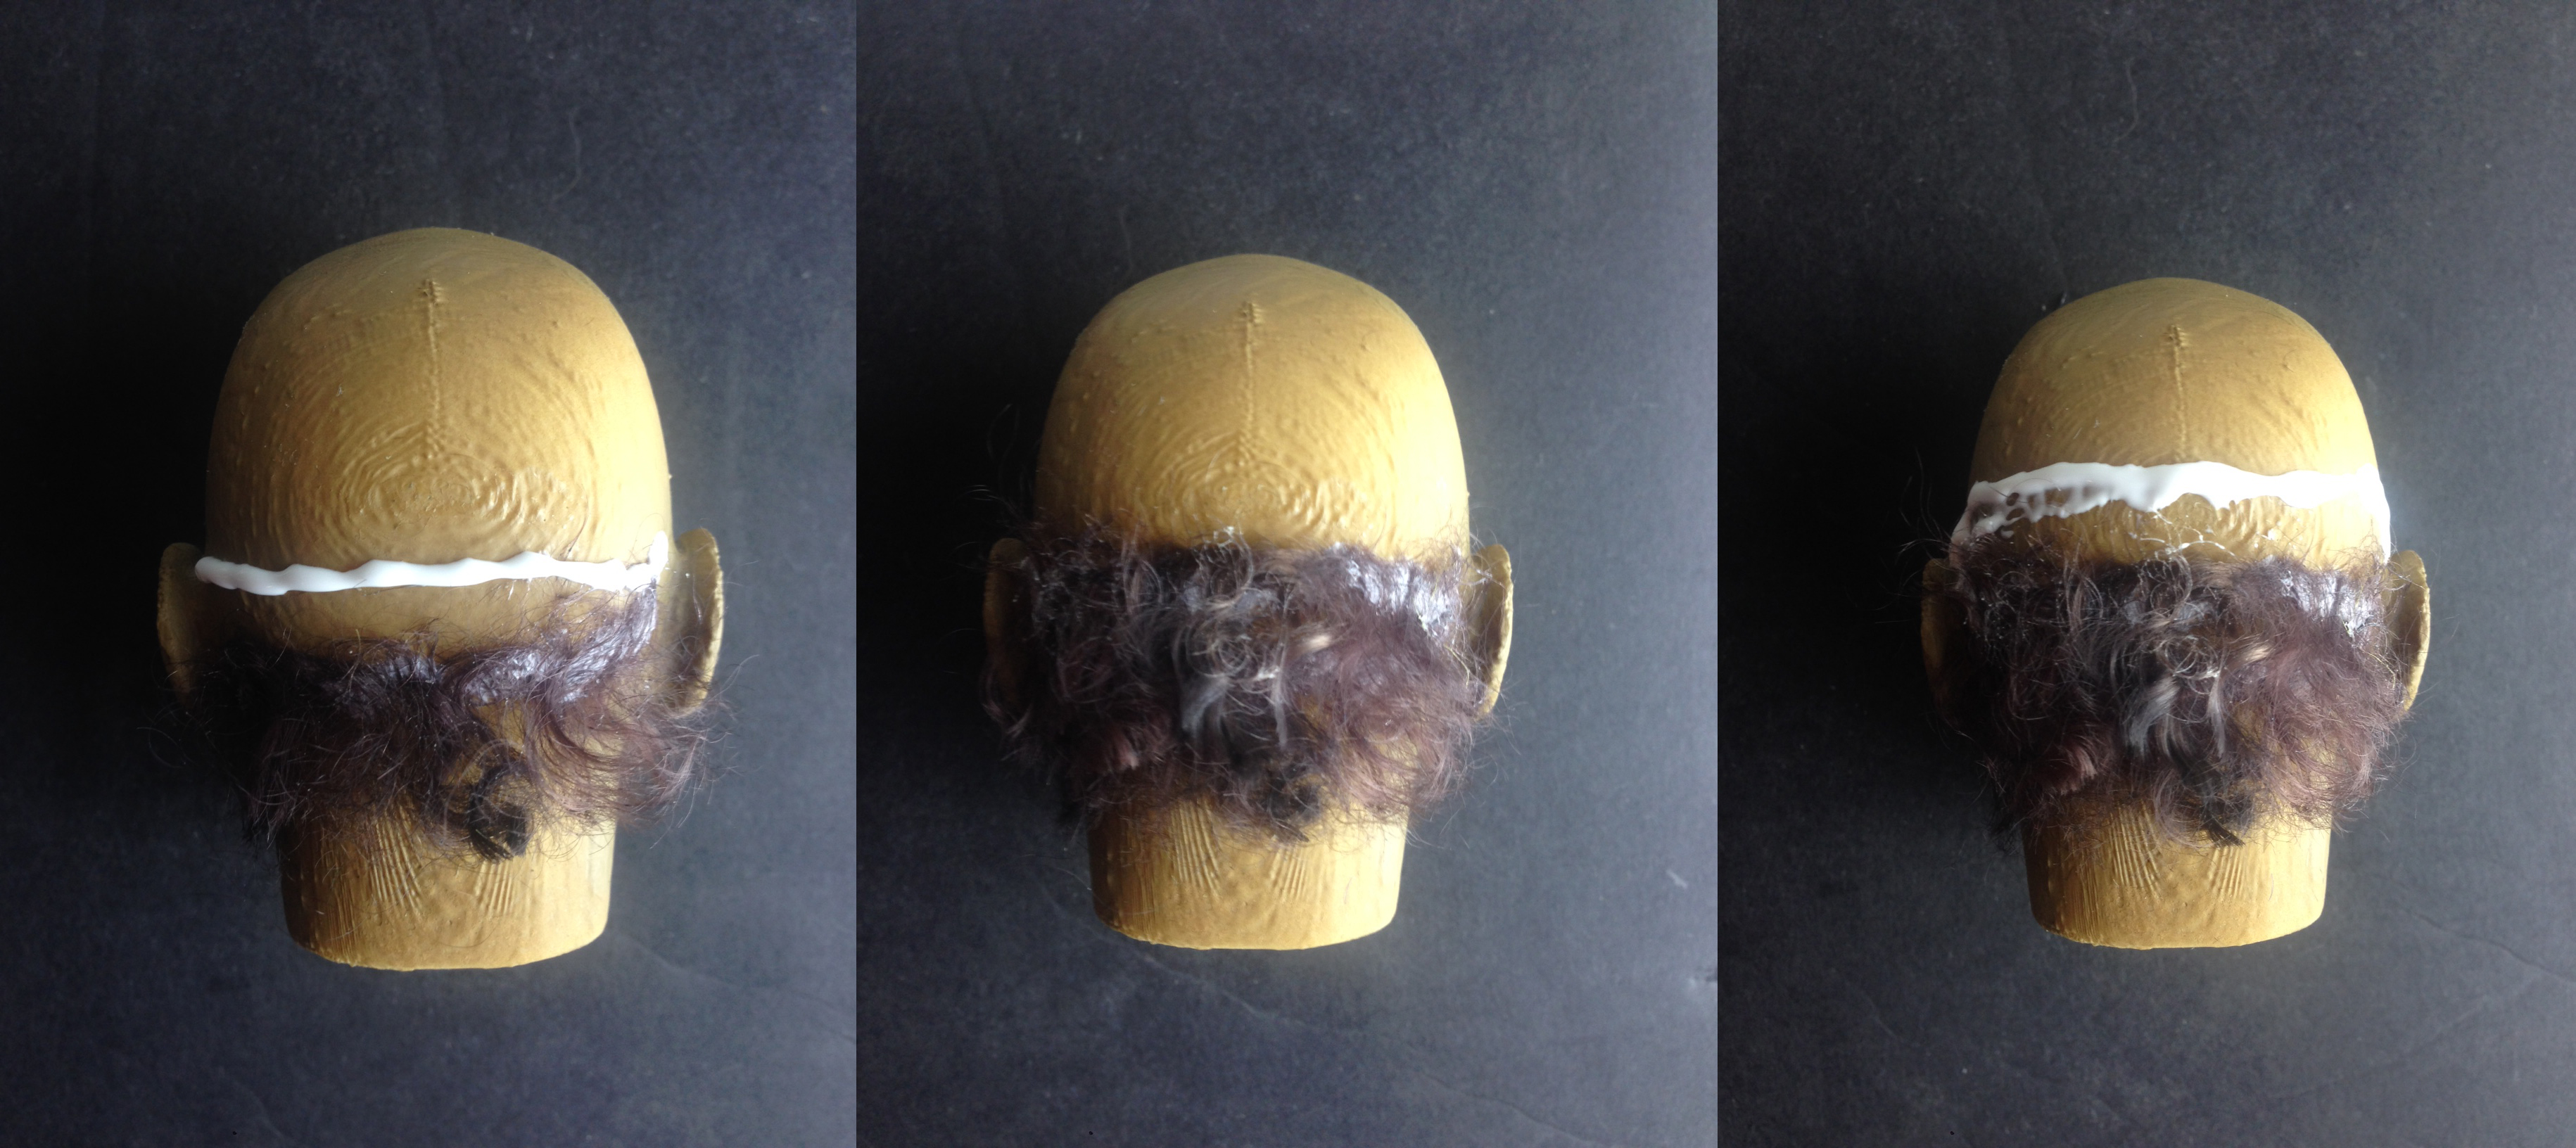
Below is a 3d print as it looks straight out of the printer. The white/brown stripes are due to me changing the filament halfway through the print (I ran out of white plastic and switched over to brown) - this is of no significance as the print will be painted. Adhesion promoter was sprayed over the entire model. I could tell after giving it a couple of coats that it was helping to diminish the visibility of print lines from the Zortrax M200 print.The model is then airbrushed with Vallejo colour 72.762 (the same colour I used to pigment the silicone hands of the puppet - I am aiming for an Australian Aboriginal appearance). Below is the model freshly painted, I use blue-tac and the ends of paint brushes to keep the model suspended while I airbrush it:
Next I wanted to experiment with using Mohair to glue a "wig" onto the character. For this I used "Arleene's Tacky Glue" which is a clear-drying glue. It is very similar to standard PVA glue. Any clear drying glue would probably be usable.
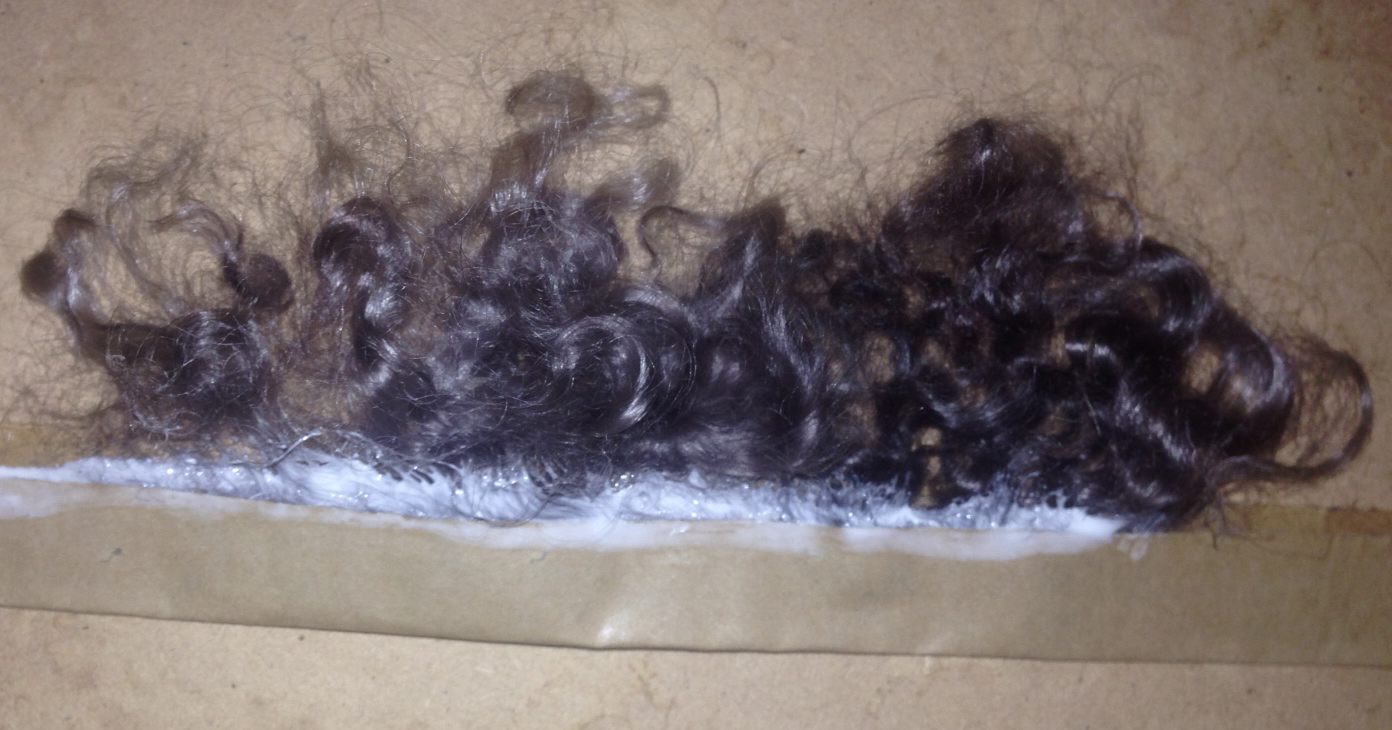
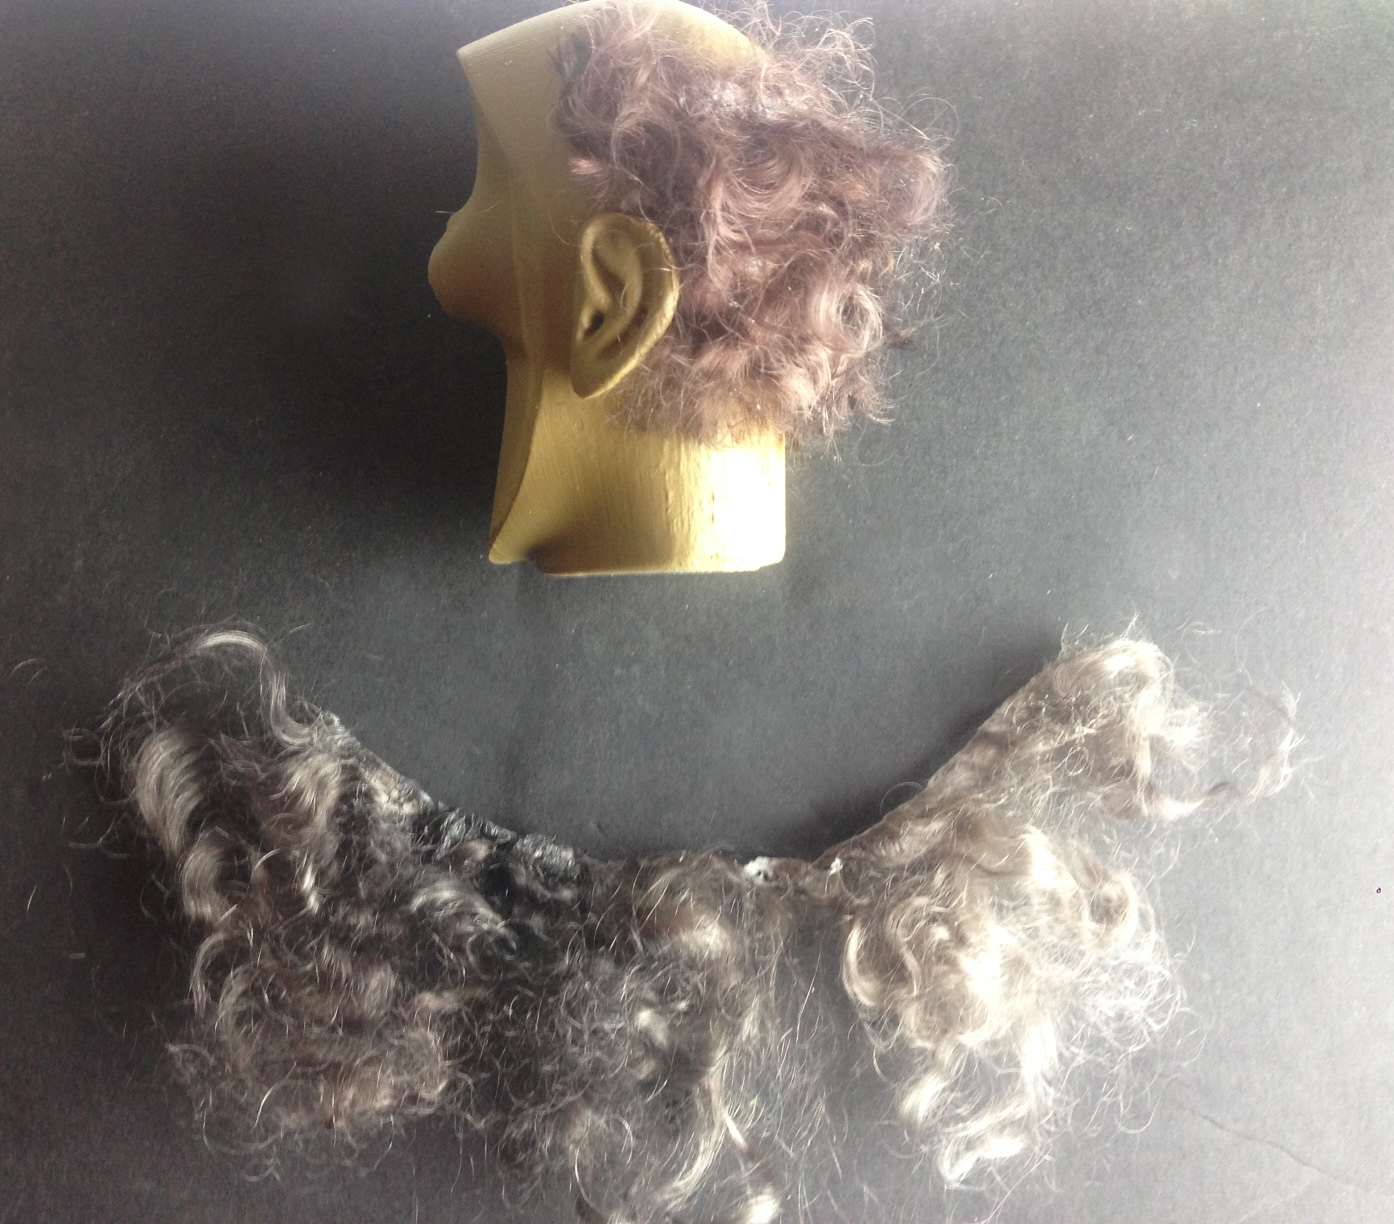
Starting at the base of the back of the head, I layered the mohair up by sticking lines of hair along strips of glue:To create the hair at the front of the head, I started by sandwiching some mohair between two strips of masking tape, then added a line of glue:Once the glue had dried, the packing tape was cut off with a pair of scissors, leaving a section of hair as shown below:
This was then glued in the opposite direction (so the hair hung over the face) then once dry, it was folded back over the head:
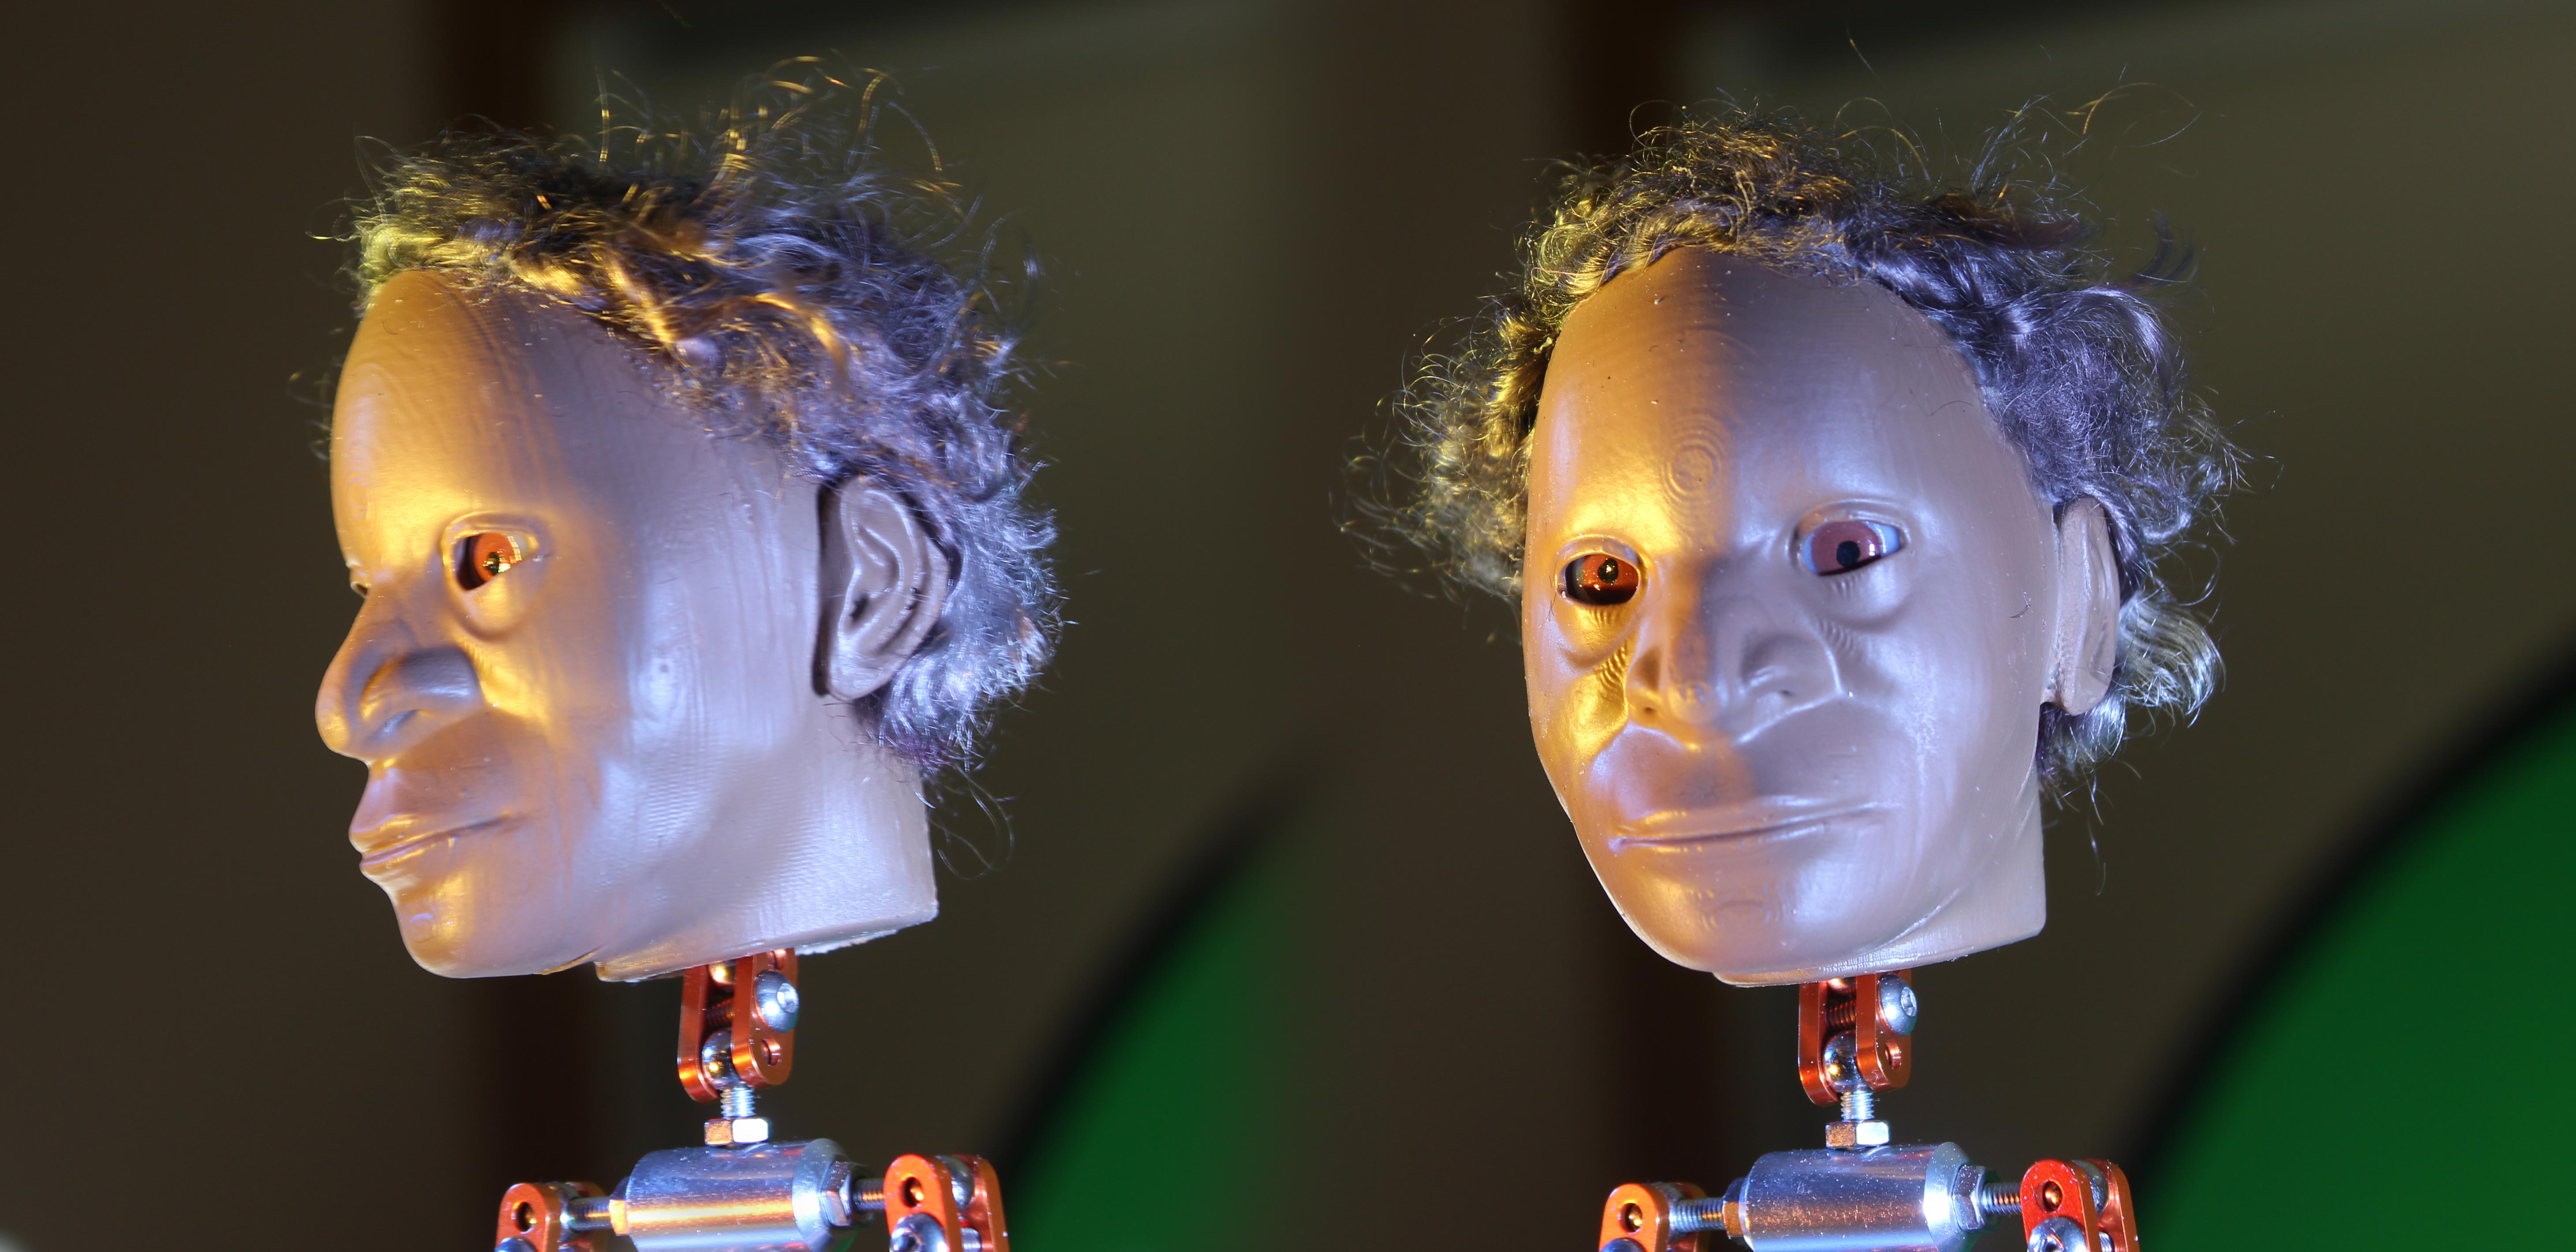
I took some photos under LED parcan lights to get a sense of how the character looks and how the hair will photograph. The seam lines between the skull and faceplate have been cloned out in Photoshop:
The eyeballs are a little sunken and the character looks a bit "plasticky", however I should be able to do some corrections on this in post. Overall I am happy with how things are progressing. The next step is to give the character a haircut (where necessary) and finish the face, namely painting the eyebrows and lips. Any detail I paint on the faceplate will need to be re-painted on every faceplate I print (for frowning / laughing / blinking etc) so I need to strike a balance between model detail and simplicity of re-paint.