Todays post details the creation of a bust for the other adult character in the film - Yarra the mother.
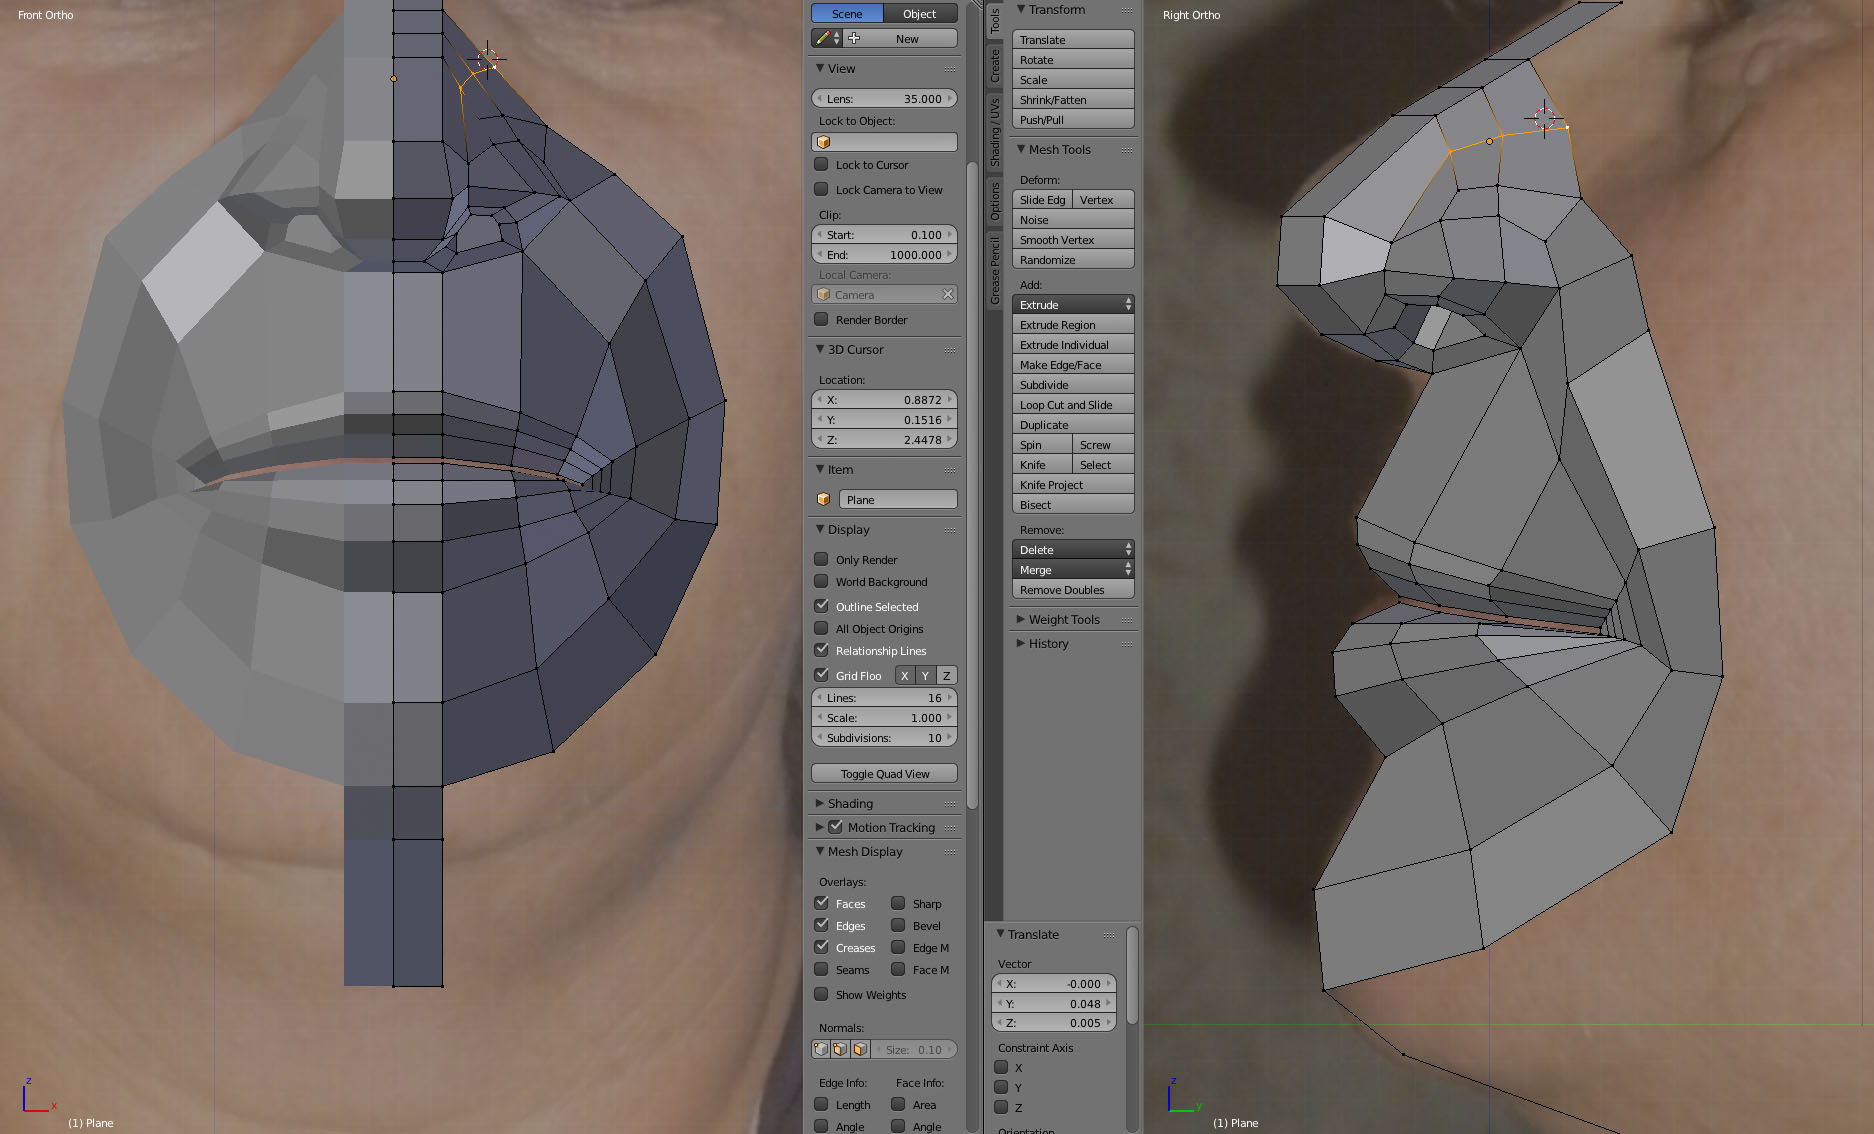
As with the other characters, I begin work by creating 3d geometry over the top of a front and side photo view, using Blender3d.
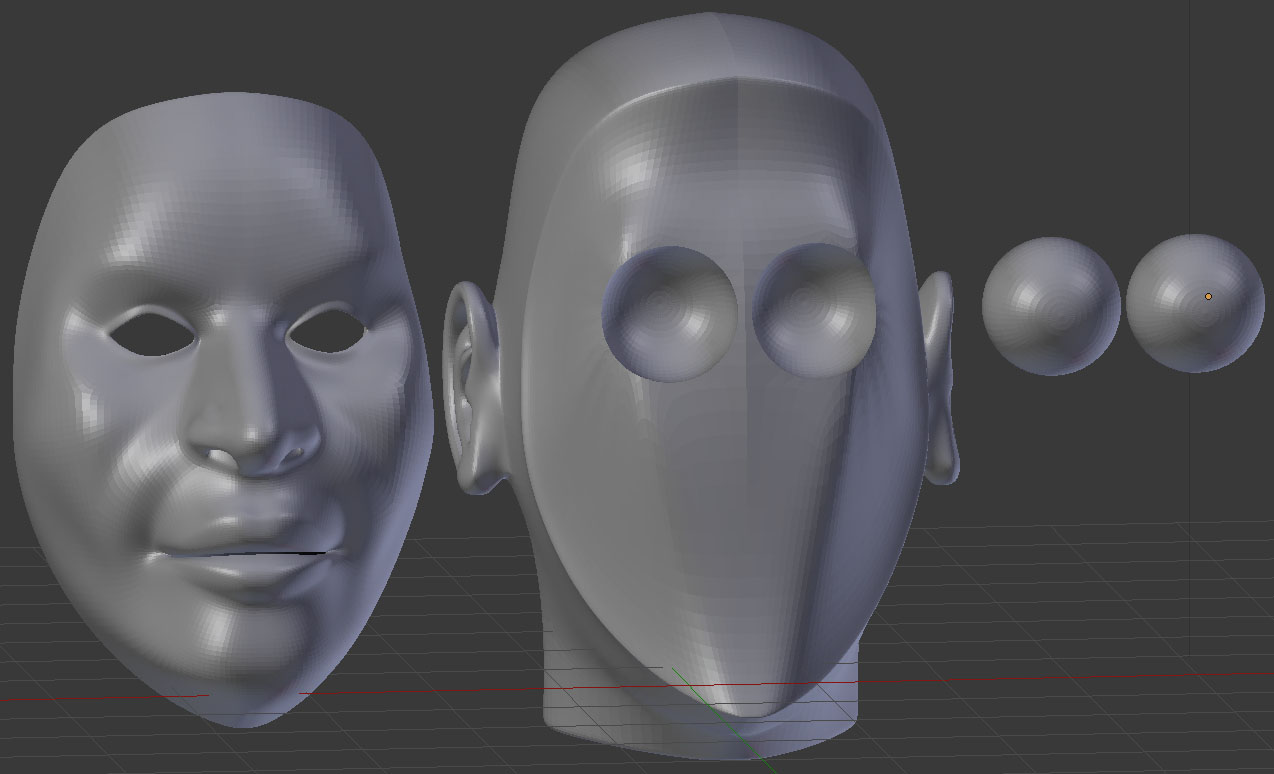
Here is the progress after blocking out the basic geometry.Due to some strange angles in my reference photos, I was not able to follow the reference exactly, as can be seen in the image below. This is quite typical when using photo reference, but is more pronounced in this case. I followed the fantastic head modelling tutorial by by Carlos R. Bisquertt which can be found here. After blocking out the basic shape, I can adjust the features of the head using Blenders "Sculpt mode" which lets me easily push and pull the digital clay around. I found that I needed to increase the size of the upper lip and give the cheeks more roundness - a process that took just 2 minutes using sculpt mode! I only modelled a single ear sculpt for this project, and I attach this ear to each character as I design them (modelling ears is a pain). I discovered Blender has a "Bridge Edge Loops" command which lets you select an edge loop on the face and an edge loop on the head and bridge geometry between them, very useful! More info on this process here.
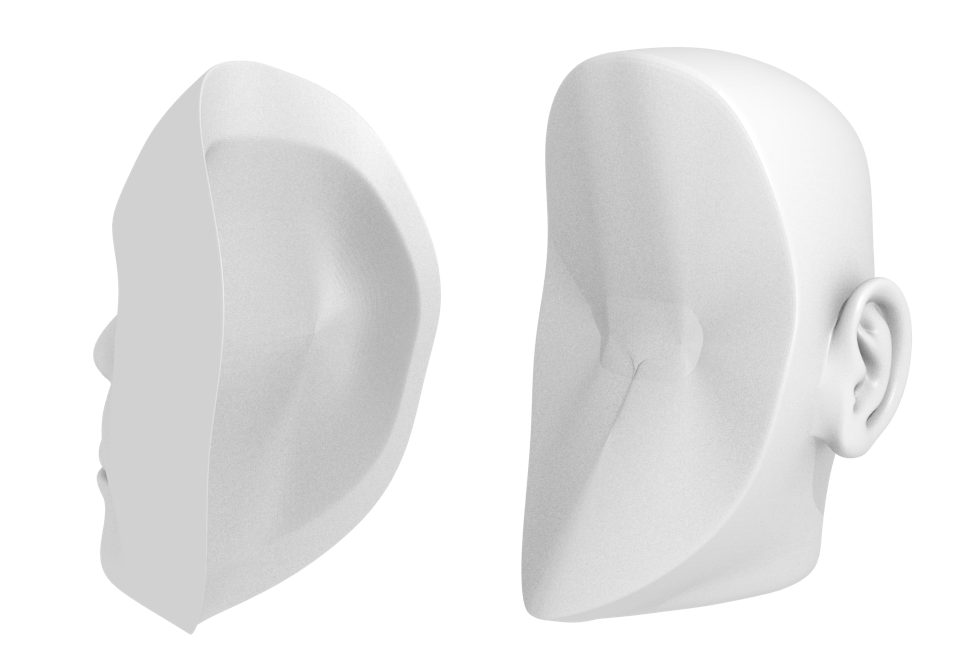
After finishing the head, it needs to be sliced up. For this character I am using replacement face plates in order to create different expressions when animating (smile, frown etc). Additionally, I want the eyes to be movable. The face is split away from the skull, which results in 2 "paper thin" meshes:
A paper thin mesh can not be 3d printed, and thus each half of the head now needs to be turned back into a "manifold" mesh. To do this I extrude inwards from the join line and add new faces:
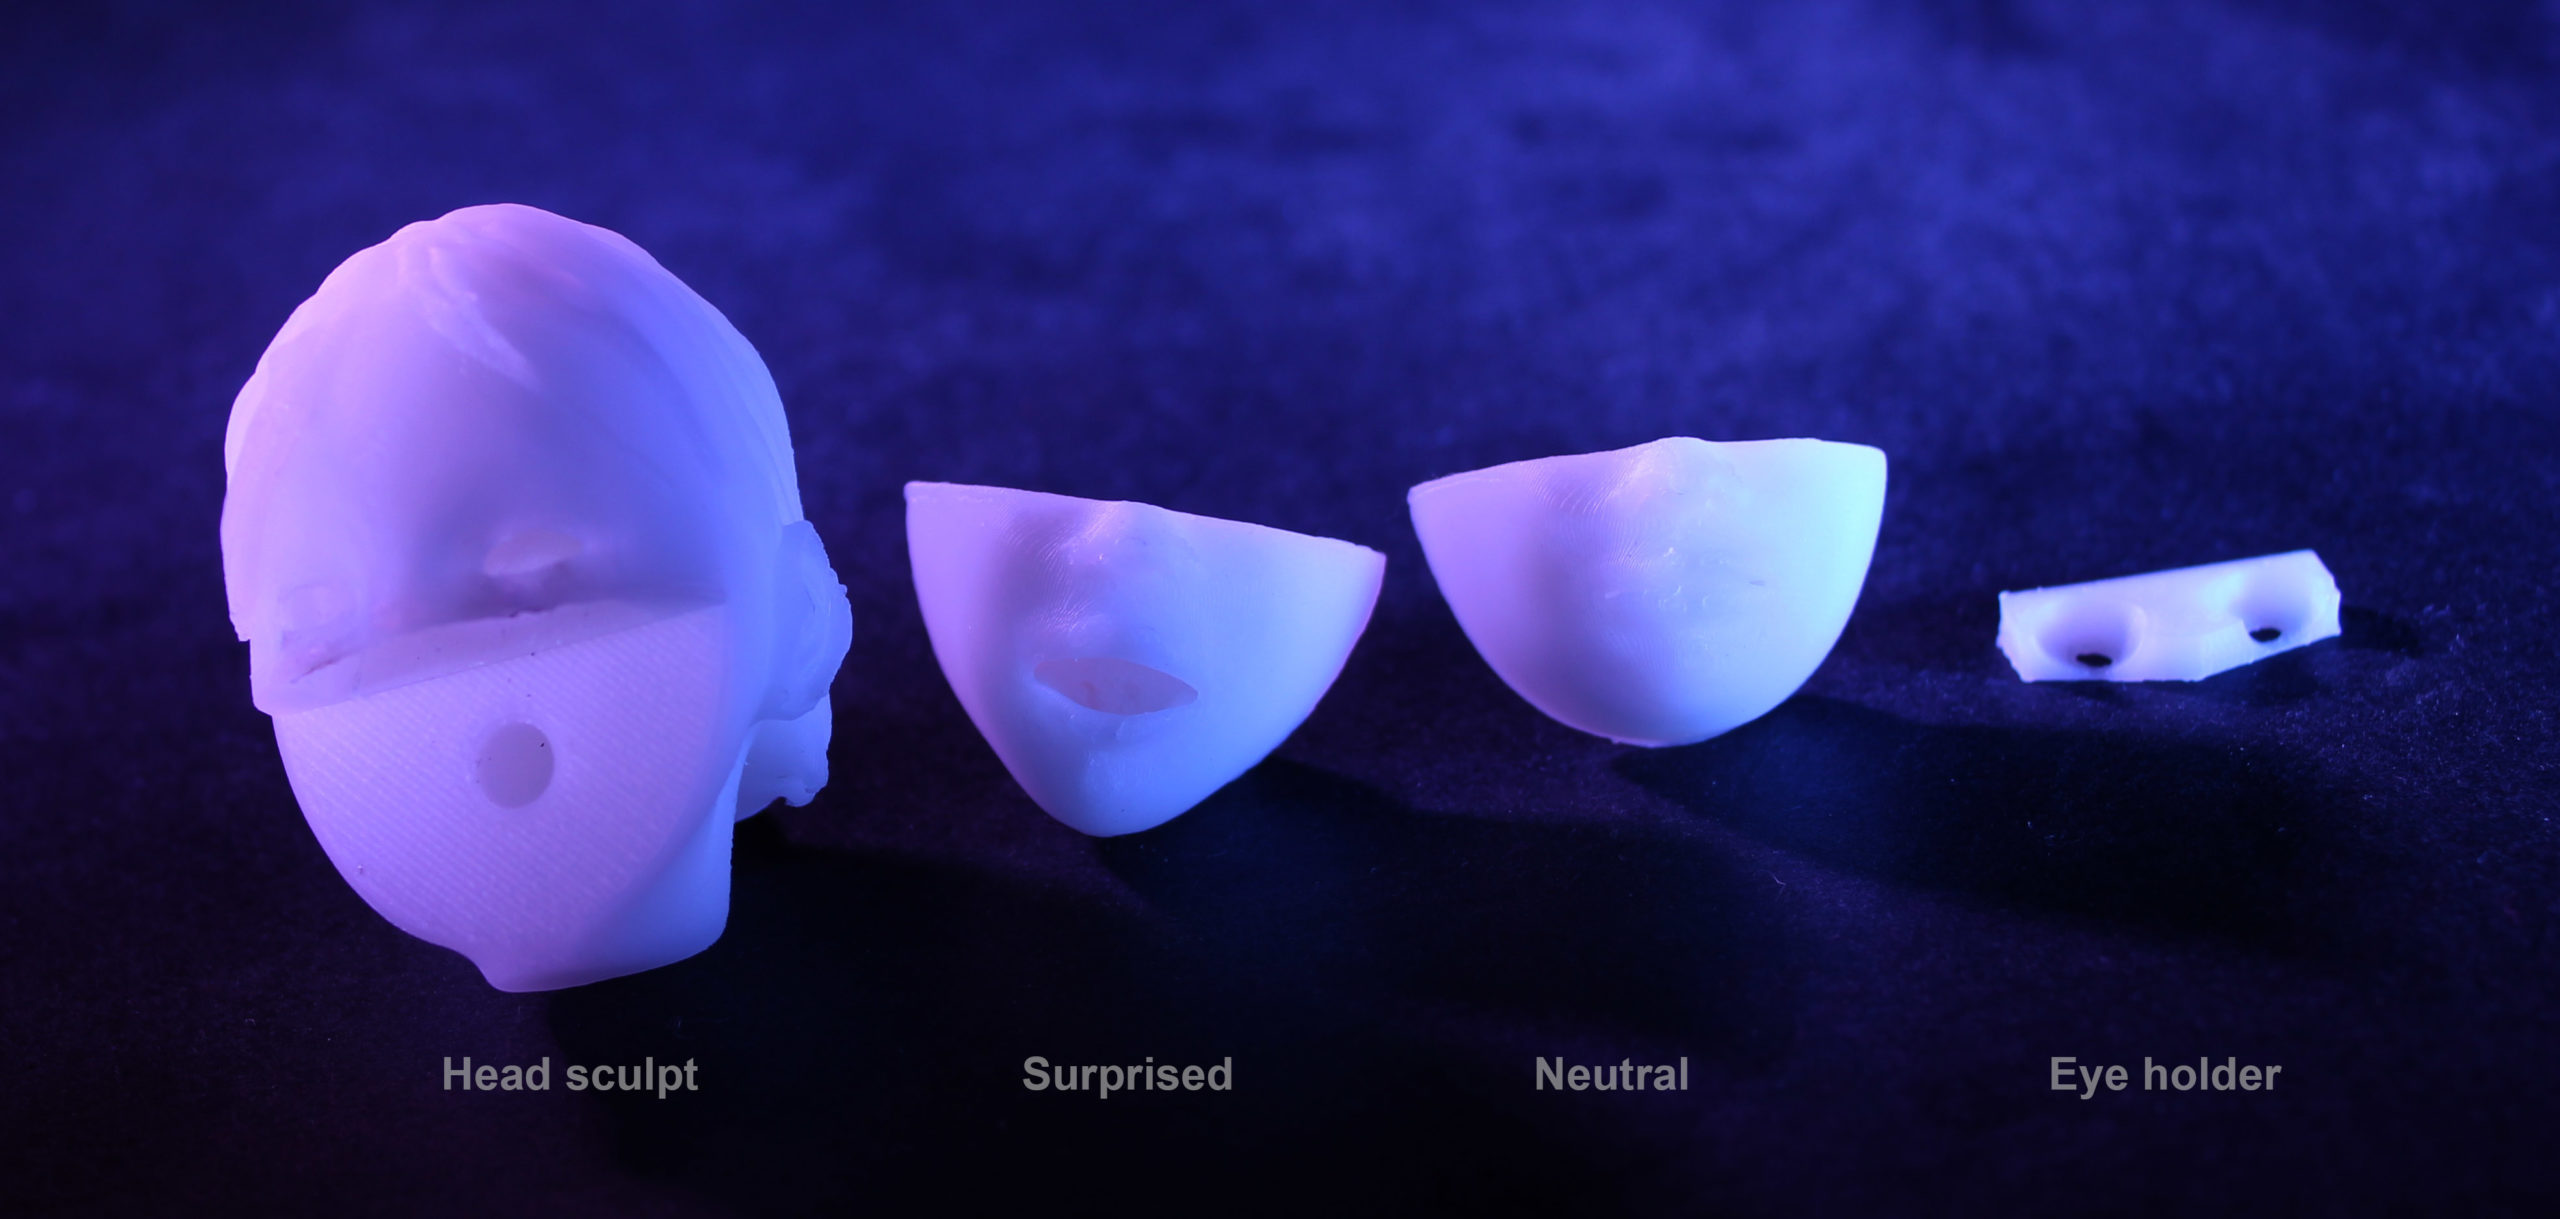
After checking that the two pieces can still sit "flush" against each other, the eye sockets can be cut out of the mesh using the Boolean Modifier: To make painting the eyes easier I pushed an indent into the eye sphere where the outline of the iris will be. I also punched a hole in the middle of the pupil. This is so that the eye can be positioned using a pin inserted into the pupil (ouch!). Any strangeness from this that is evident when the eyes are photographed can be fixed in post. I scribbled some hair over a model render in Photoshop to get a rough idea of how the model was progressing.It is not as feminine as I would have hoped but I still have time to make further adjustments with the sculpt tool before I print the model. I also need to notch out holes to put magnets in for the removable face plates, and create prints of the different expressions I need.
In a future post I will discuss the print itself, painting, and hair creation for the bust.