3d printing Heads for Stop Motion Puppets (Part 1)
Todays post is about 3d printing and dissecting a human head (woah)...
...More specifically, today I am writing about using Blender 3d and a Zortrax M200 printer when creating puppets for stop motion.
I wanted to explore 3d printing technology as it can be applied to the creation of component-based puppet heads. Replacement mouths are often used in stop motion in order to allow a characters mouth to change shape, for expression or for speaking. I was inspired by the mechanics involved in the puppets used for Laika's films.
For the project I am currently working on, I set myself the goal of 3d printing a puppet head which would have a removable jaw, thus enabling different mouth expressions. I also wanted to create mechanical eyeballs so that the character can be animated to look in different directions.
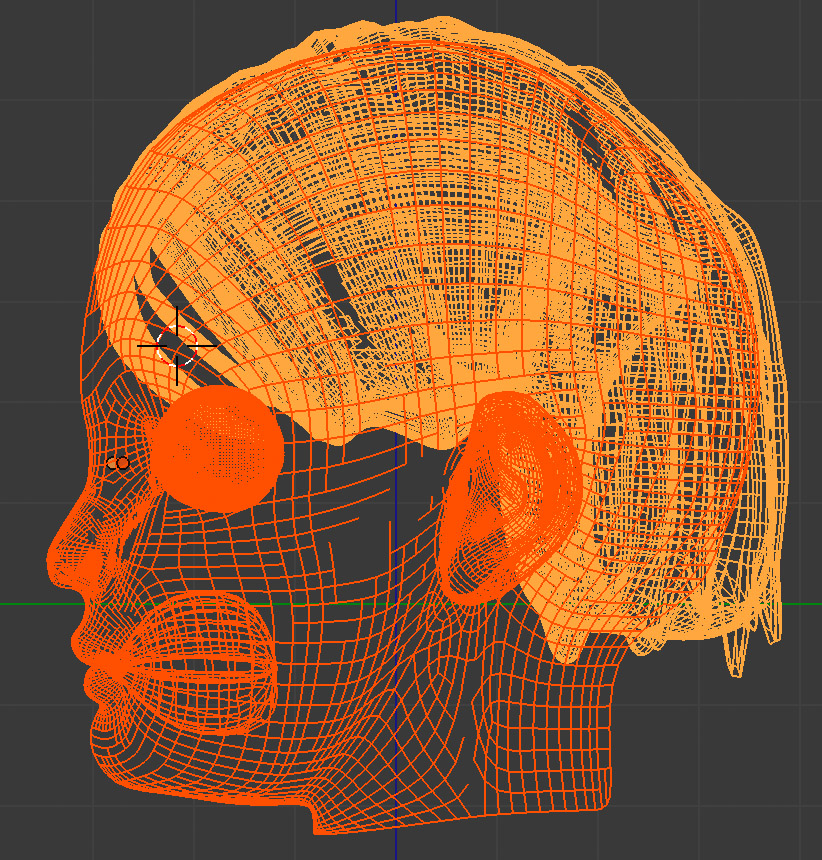
The client had provided me with reference images to use for the characters in the project. From the provided front and side photos I can model a digital likeness using Blender.

Shown above is the head mesh partially complete with the photo reference behind.
After creating the head all overlapping meshes had to be joined into a single "hollow" mesh to ensure the file was friendly with 3d printers. Meshes used for 3d printers need to be manifold, and overlapping meshes are best avoided:
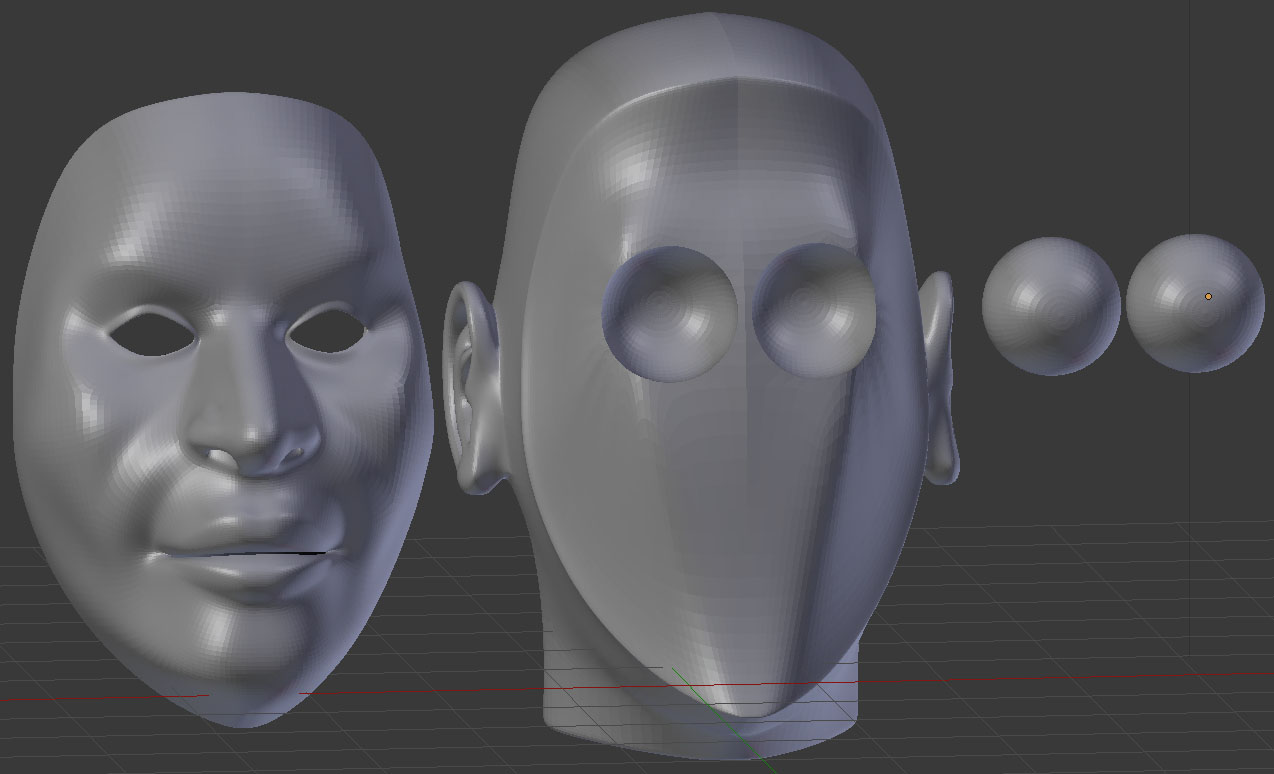
Next it's time to start slicing up the model to create the separate mouth replacement pieces, and to create holes for housing the movable eyes. The image below shows how this was realised within Blender.

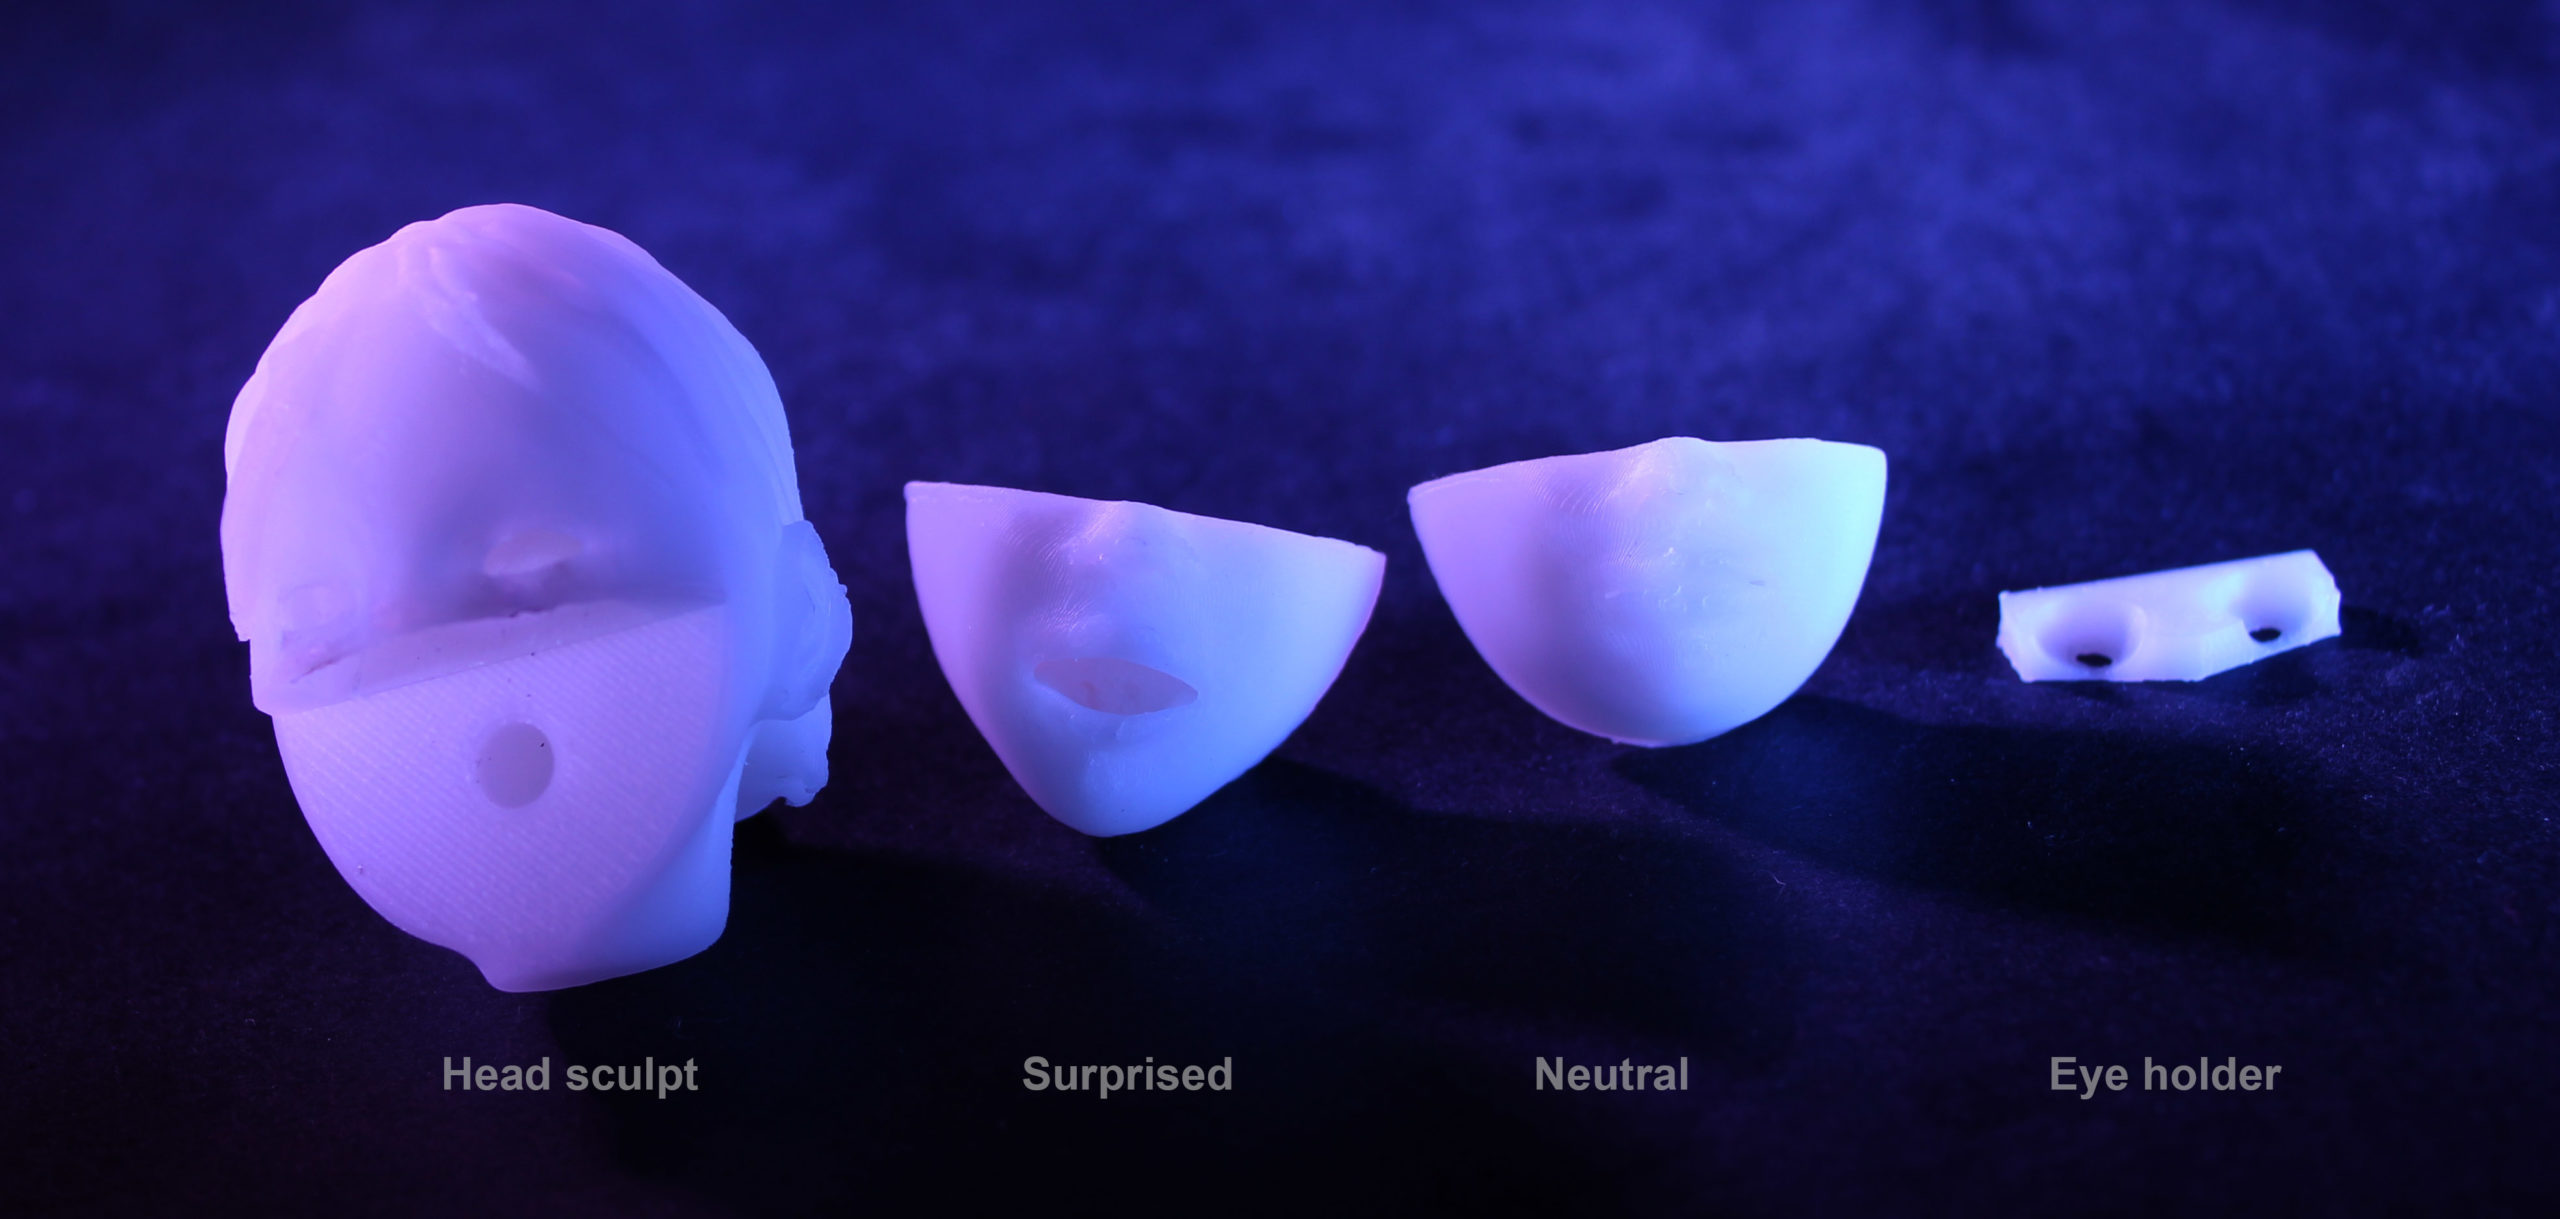
The Jaw mesh was then duplicated in order to make different expressions (Surprise, Sad etc)
Each piece was then sent to the printer. I expected I might have difficulty at this stage with regard to print size versus quality. My character armatures are very small so the head needs to stay as small as possible. Too small, however, and the 3d printer would not capture the detail of the face, or the mechanics (movable eyes) could have become impossible to realise.
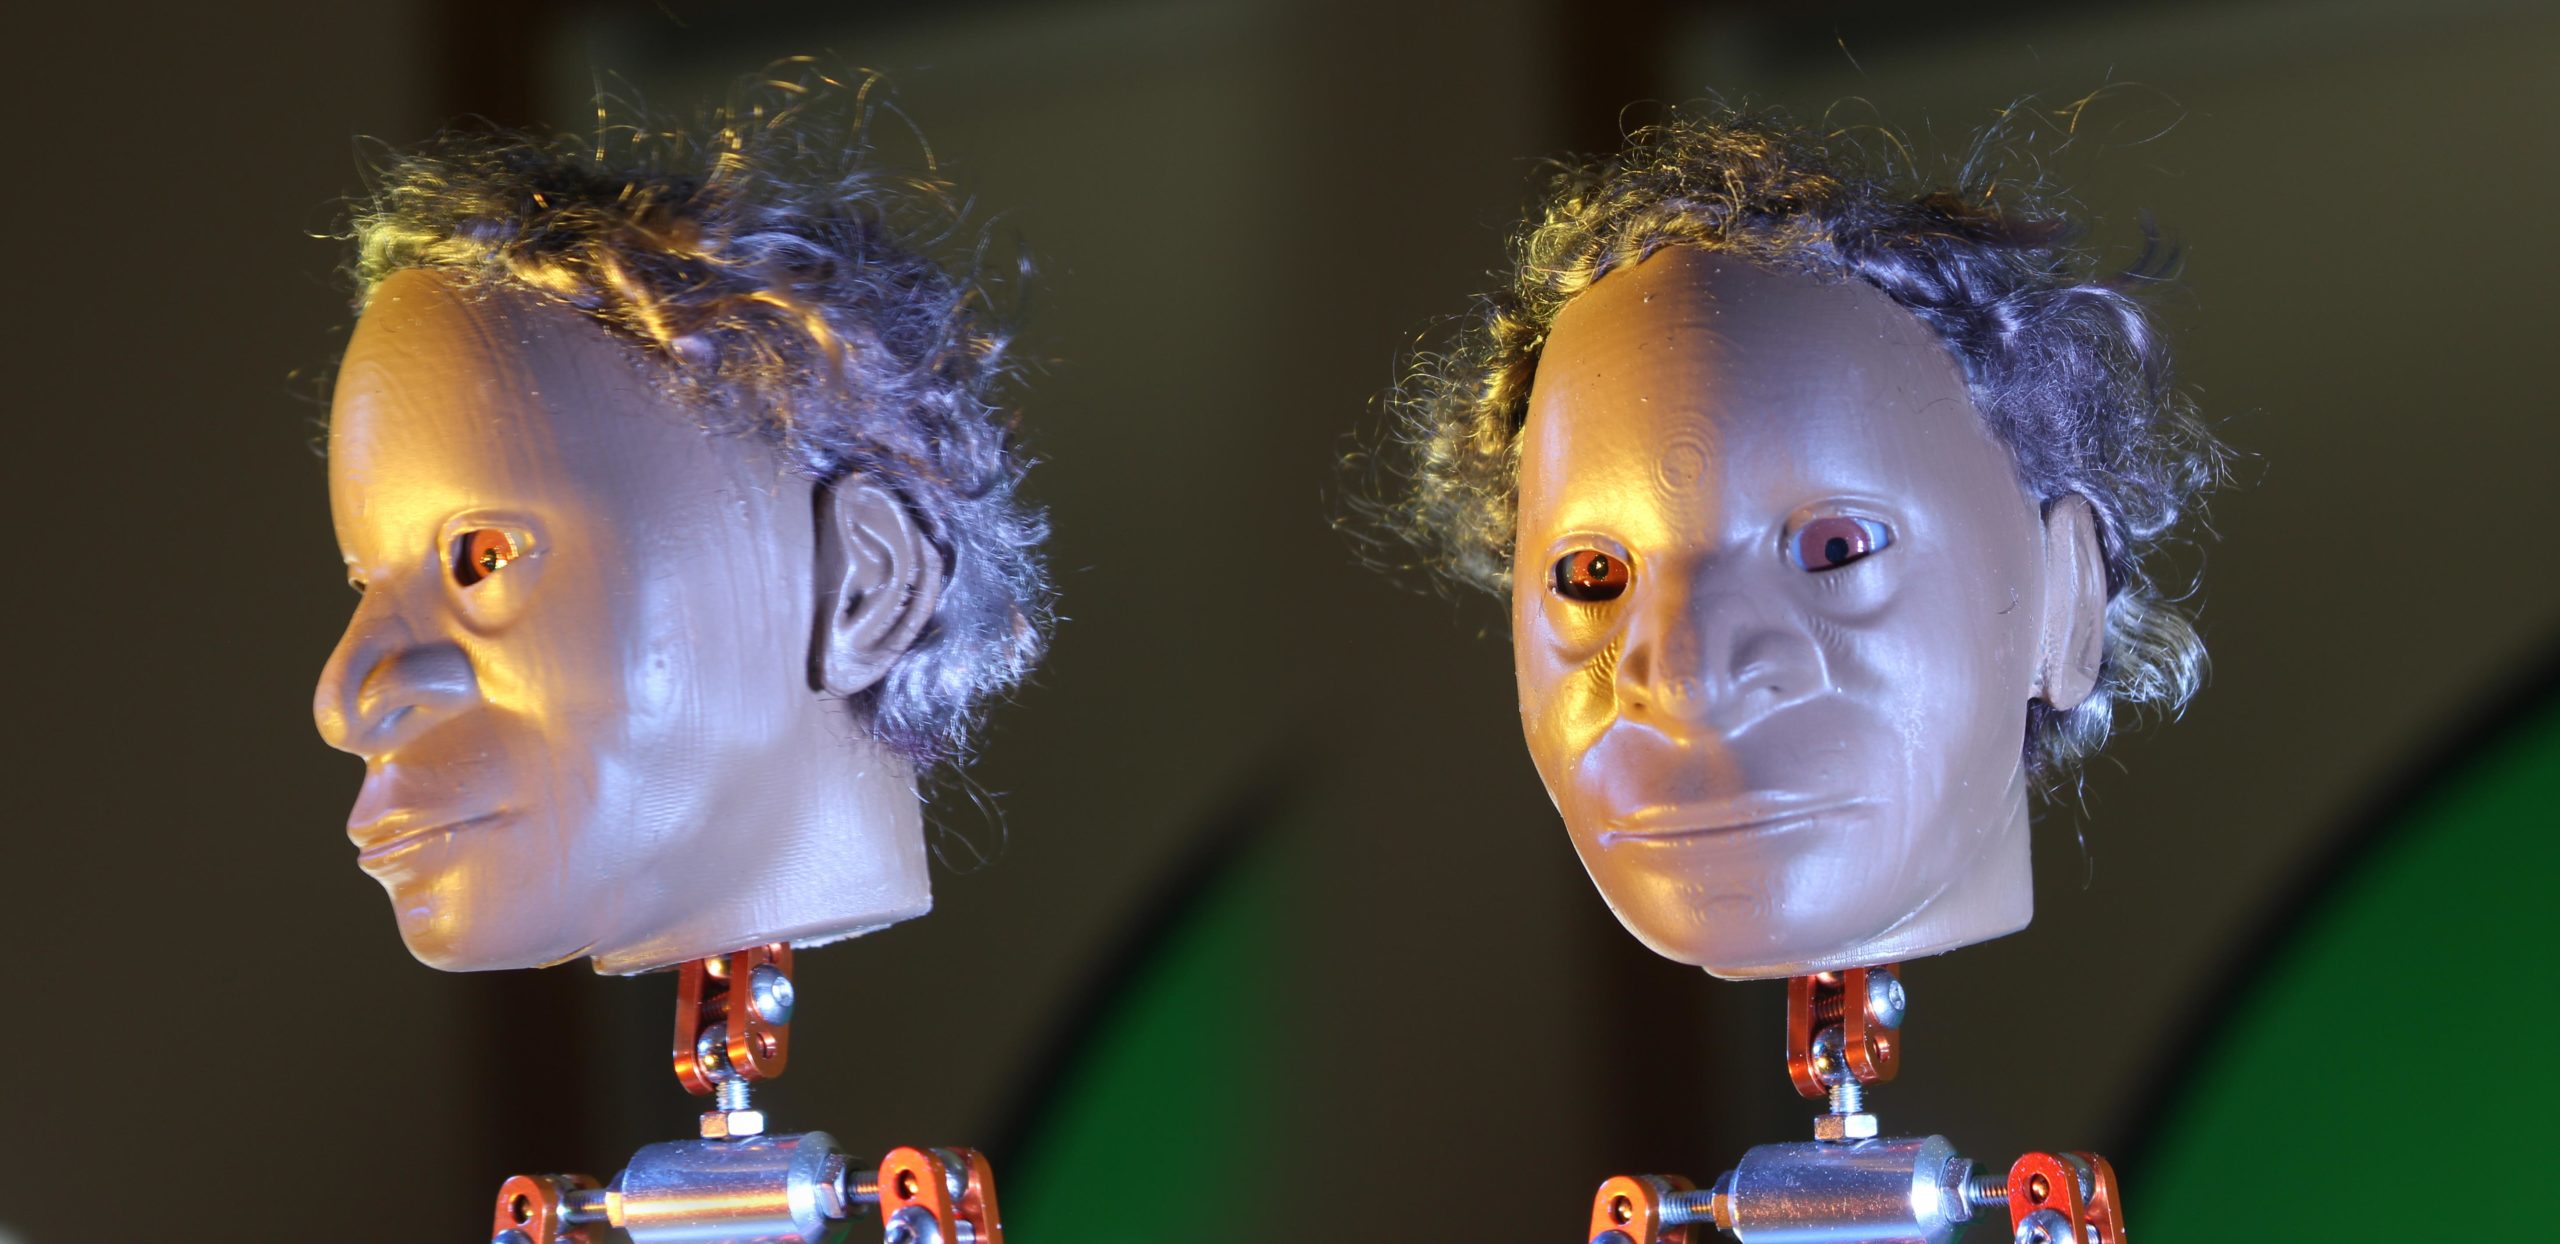
The print, thankfully, was a success and the items will work perfectly:

The next step will be to cleanup and paint the pieces. I want to explore the use of acetone in smoothing printed parts. Acetone melts ABS plastic, and 3d prints can be smoothed in a "hot" or "cold" bath, with cold baths being the safest. I am keen to see whether I can smooth my parts without losing too much detail.